Connect AI Assistant to Telegram: Developer's Guide
2026-08-01

The fastest reliable path to connect an AI assistant to Telegram is three steps: create a bot with @BotFather, grab its API token, and forward incoming updates to your AI model backend. For production, use a webhook (Telegram pushes updates to your HTTPS endpoint). For local development, long-polling is simpler and requires no public URL. Non-developers can skip the code entirely with n8n or Make. If you want zero infrastructure management, Clawbase deploys a fully connected, persistent AI assistant with one click.
- Path A (Developer): @BotFather token → Python script with
python-telegram-bot→ webhook or polling → OpenAI-style API call →sendMessagereply - Path B (No-code): @BotFather token → n8n or Make workflow → AI node → Telegram reply node
- Path C (Managed): Clawbase account → one-click OpenClaw deployment → built-in Telegram integration, no server required
- Security baseline: Treat your bot token like a private key. Store it in an environment variable, never in source code.
***
Table of Contents
- What you need before you start
- How to create a Telegram bot with @BotFather
- Webhook vs. long-polling: which integration method fits your project?
- How messages flow from Telegram to your AI model and back
- A minimal Python example: polling and webhook variants
- Local testing with ngrok and deploying to production
- Security and privacy checklist before going live
- How long does setup take, and what will it cost?
- Common errors and how to fix them fast
- Skip the infrastructure: run your Telegram AI assistant on Clawbase
- Key Takeaways
- What I actually learned building Telegram AI bots
- Useful sources and documentation
What you need before you start
Before writing a single line of code or clicking through a workflow builder, confirm you have the following.
Accounts and access:
- A Telegram user account (mobile, desktop, or web)
- Access to @BotFather to create and manage bots
- An API key from an AI model provider (OpenAI, Anthropic, or equivalent)
- Optionally, a Clawbase account if you prefer managed OpenClaw hosting over self-hosting
Tools and environment:
- A basic dev environment (Python 3.9+ recommended) or a no-code platform account (n8n or Make); see the no-code AI assistant guide for a non-developer walkthrough
ngrokfor exposing a local server to the internet during webhook testing- A VPS or managed host for production webhook deployment
- A
.envfile or secrets manager for environment variable storage
Permissions and notes:
- Bot owner privileges in any group chat the bot will join
- Know the difference between your bot token (authenticates API calls) and a chat ID (identifies a specific conversation)
- Webhooks require a valid TLS certificate on a public HTTPS endpoint; self-signed certs are not accepted by Telegram
***
How to create a Telegram bot with @BotFather
Every Telegram bot starts here. There is no alternative registration path.
- Open Telegram and navigate directly to
t.me/BotFather. Click Start. - Send the command
/newbot. - BotFather asks for a display name (what users see in the chat header). Type something descriptive, e.g.,
My AI Assistant. - Next, BotFather asks for a username. It must end in
botand be globally unique across Telegram, e.g.,my_ai_assistant_bot. If the name is taken, try a variation; no need to restart. - On success, BotFather replies with a congratulations message and a token in this format:
123456789:ABCdefGHIjklMNOpqrSTUvwxYZ-1234567- Copy the entire token string. You will paste it into your environment variables and never hardcode it.
The Telegram Bot API authenticates every request using this token in the URL path: https://api.telegram.org/bot. Lose control of it and anyone can impersonate your bot, read messages, and send replies.
Pro Tip: *If you accidentally expose your token in a public repo or Slack message, go back to @BotFather immediately, select your bot, choose "API Token," and revoke it. A new token is issued instantly. Store all tokens in environment variables or a secrets manager like AWS Secrets Manager or HashiCorp Vault, never in config.py or committed .env files.*
***
Webhook vs. long-polling: which integration method fits your project?
The Telegram Bot API supports two ways to receive updates, and the right choice depends on your infrastructure and scale.

| Method | Latency | Infrastructure needed | Security surface | Best for |
|---|---|---|---|---|
| **Webhook** | Near-real-time | Public HTTPS endpoint, valid TLS cert | Exposed port, must validate secret token | Production bots, high-traffic, low-latency |
| **Long-polling** | Low (1–2 sec) | None beyond outbound internet | No exposed port | Dev, hobby bots, personal assistants |
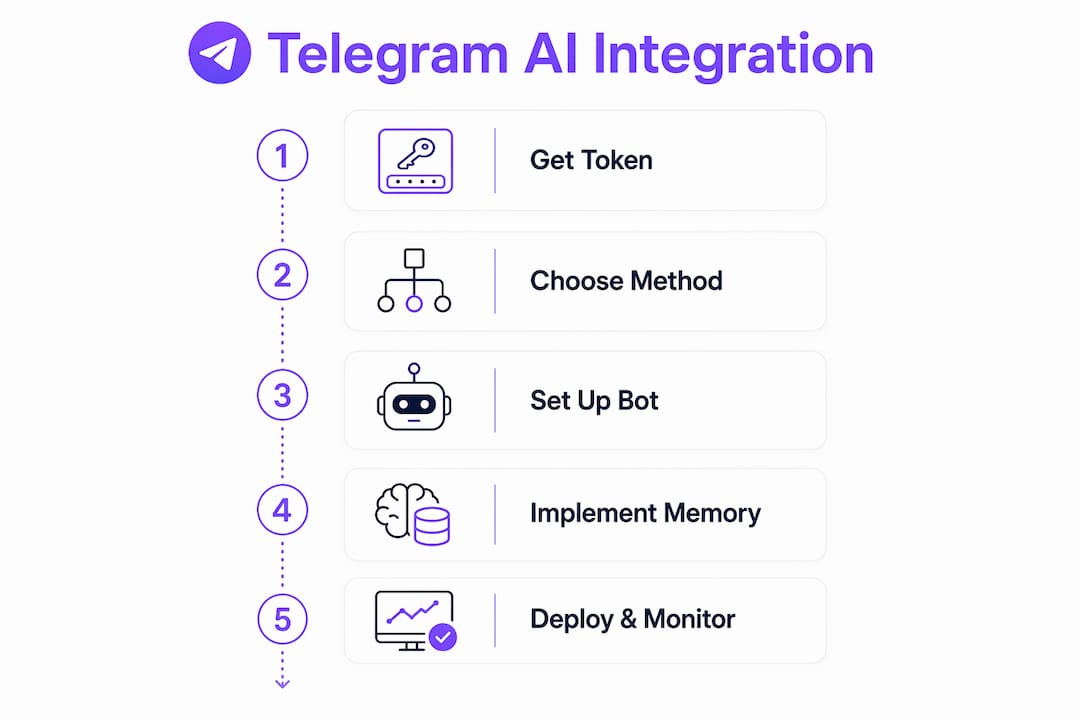
Webhook means Telegram sends an HTTPS POST to your server every time a user messages the bot. Pros: lower latency, no idle polling loop, scales cleanly. Cons: you need a public endpoint with a valid TLS certificate, and you must handle Telegram's retry logic when your server returns a non-2XX status.
Long-polling (getUpdates) means your bot repeatedly asks Telegram "any new messages?" Pros: no public URL, simpler self-hosting, reduced attack surface. Cons: slightly higher latency, and you must manage the polling loop yourself.
No-code platforms (n8n, Make) are the fastest route for non-developers. Both provide native Telegram triggers and AI-agent nodes that handle message passing and conversational memory without a single line of code. Cloud-hosted n8n also eliminates the ngrok requirement entirely.
- Choose webhook when you need production reliability and sub-second response times
- Choose long-polling for personal assistants, hobby projects, or any setup where opening a public port is impractical
- Choose n8n/Make when you want a working bot in under an hour without managing a server
***
How messages flow from Telegram to your AI model and back
Understanding the full message loop prevents the most common wiring mistakes. Here is the sequence:
- User sends a message to your bot in Telegram
- Telegram delivers the update to your webhook endpoint (POST) or your polling loop picks it up via
getUpdates - Your code parses the Update object, extracting
message.textandmessage.chat.id - Retrieve conversation history from your memory layer (keyed by
chat_id) and prepend it to the system prompt - Send the assembled prompt to your AI model API with an
Authorization: Bearerheader - Receive the model's response and append both the user message and assistant reply to the memory store
- Call
sendMessagewithchat_idand the model's reply text to deliver the response back to the user
A minimal REST call to an OpenAI-style API looks like this:
POST https://api.openai.com/v1/chat/completions
Authorization: Bearer <AI_API_KEY>
Content-Type: application/json

{
  "model": "gpt-4o-mini",
  "messages": [
    {"role": "system", "content": "You are a helpful assistant."},
    {"role": "user", "content": "<user_message>"}
  ]
}
The response field you need is choices[0].message.content. Pass that string directly to Telegram's sendMessage.
For long responses and streaming, send a sendChatAction call with action: typing before the model call. This shows the typing indicator in Telegram while the model processes, masking latency. For very long outputs, split the response into chunks under 4,096 characters (Telegram's message length limit) and send them sequentially. Understanding how AI models shape responses helps you tune the output format for chat contexts.
Memory is table stakes. Telegram bots are stateless by default, so you must implement an explicit memory layer keyed by chat ID. A Window Buffer Memory (last N messages) works for most personal assistants. For longer-term recall, SQLite with the chat_id as the session key is a practical choice that runs on any VPS.
***
A minimal Python example: polling and webhook variants
The code below uses python-telegram-bot and an OpenAI-compatible API. Copy it, set your environment variables, and you have a working bot.

Environment variables required:
TELEGRAM_BOT_TOKEN=your_botfather_token
AI_API_KEY=your_openai_api_key
Polling variant (recommended for local development)
import os
import openai
from telegram import Update
from telegram.ext import ApplicationBuilder, MessageHandler, filters, ContextTypes

openai.api_key = os.environ["AI_API_KEY"]
memory = {}  # chat_id -> list of message dicts

async def handle_message(update: Update, context: ContextTypes.DEFAULT_TYPE):
    chat_id = update.effective_chat.id
    user_text = update.message.text

    # Build conversation history
    history = memory.setdefault(chat_id, [])
    history.append({"role": "user", "content": user_text})

    # Call AI model
    response = openai.chat.completions.create(
        model="gpt-4o-mini",
        messages=[{"role": "system", "content": "You are a helpful assistant."}] + history
    )
    reply = response.choices[0].message.content
    history.append({"role": "assistant", "content": reply})

    await update.message.reply_text(reply)

app = ApplicationBuilder().token(os.environ["TELEGRAM_BOT_TOKEN"]).build()
app.add_handler(MessageHandler(filters.TEXT & ~filters.COMMAND, handle_message))
app.run_polling()
Webhook variant (Flask snippet)
from flask import Flask, request
from telegram import Bot, Update
import os, asyncio

bot = Bot(token=os.environ["TELEGRAM_BOT_TOKEN"])
flask_app = Flask(__name__)

@flask_app.route(f"/{os.environ['TELEGRAM_BOT_TOKEN']}", methods=["POST"])
def webhook():
    update = Update.de_json(request.get_json(), bot)
    # Process update here (same logic as polling handler above)
    return "ok", 200
Register the webhook once with:
curl "https://api.telegram.org/bot<TOKEN>/setWebhook?url=https://yourdomain.com/<TOKEN>"Common errors at this stage:
401 Unauthorized: token is wrong or has a leading/trailing spacechat_idmissing: you parsed the wrong field; useupdate.effective_chat.id- Bot not responding: check that polling is running and not blocked by a firewall rule
Pro Tip: *Run the polling variant locally during development. Switch to the webhook variant only when deploying to a server with a real domain and TLS. This saves you from fighting ngrok timeouts while iterating on prompt logic.*
***
Local testing with ngrok and deploying to production
Local testing
- Run your Flask webhook app locally on port 8443 (or any port).
- In a separate terminal, run
ngrok http 8443. Copy the HTTPS URL ngrok provides, e.g.,https://abc123.ngrok.io. - Register the webhook with Telegram:
curl "https://api.telegram.org/bot<TOKEN>/setWebhook?url=https://abc123.ngrok.io/<TOKEN>"- Telegram responds with
{"ok":true,"result":true}. Send your bot a message in Telegram and watch the request hit your local server. - Verify webhook status anytime with
getWebhookInfo:
curl "https://api.telegram.org/bot<TOKEN>/getWebhookInfo"Production deployment checklist
- Provision a VPS (any major cloud provider) or use a managed host.
- Point a domain at the server IP and obtain a TLS certificate (Let's Encrypt via Certbot is free and widely supported).
- Configure your firewall to allow inbound HTTPS (port 443) and block everything else.
- Deploy your bot process and manage it with
systemdorpm2to auto-restart on crash. - Register the production webhook URL with Telegram using your real domain.
- Set up structured logging (stdout to a log aggregator, or a simple file with rotation) and a health-check endpoint.
- Monitor memory usage: in-process
dictmemory works for a single instance but does not survive restarts. Migrate to SQLite or Redis for persistence.
***
Security and privacy checklist before going live
Skipping this section is how bots get hijacked or leak user data.
- Store tokens in environment variables or a dedicated secrets manager. Never commit them to version control.
- Rotate your bot token periodically via @BotFather, especially after any suspected exposure.
- Restrict allowed chat IDs or user IDs in your handler logic. If the bot is personal, reject any
chat_idthat is not yours. - Validate the webhook secret token. When you call
setWebhook, pass asecret_tokenparameter. Telegram includes it in every POST asX-Telegram-Bot-Api-Secret-Token. Reject requests that omit or mismatch it. - Enforce HTTPS with a valid TLS certificate. Telegram will not deliver webhook updates to HTTP endpoints or self-signed certs.
- Rate-limit incoming requests at the application layer. A simple per-chat-ID counter prevents runaway API costs from spam.
- Log minimally. For U.S. deployments, avoid logging full message content unless you have a stated retention policy. Log
chat_id, timestamp, and error codes only. - Communicate storage choices to users. A short
/privacycommand that explains what you store (conversation history, duration) builds trust and is good practice regardless of jurisdiction.
Pro Tip: *The most commonly skipped checklist items are token security, memory limits, and retry handling for model API calls. Add a timeout (10–15 seconds) to every outbound model call and a retry with exponential backoff. Without it, a slow model response will hang your webhook handler and cause Telegram to retry the same update repeatedly.*
Incident response: If a token is compromised, revoke it immediately in @BotFather, rotate all related secrets, audit your logs for unauthorized calls, and restore from your most recent backup. Keep an audit trail of token rotation events.
***
How long does setup take, and what will it cost?
Realistic estimates, not best-case scenarios:
- No-code setup (n8n or Make): from a short period to a couple of hours, including @BotFather registration and workflow configuration
- Developer proof-of-concept with polling: a few hours to a working bot with basic memory
- Production webhook deployment with TLS, process management, and monitoring: several hours depending on VPS familiarity
Cost components:
- AI API usage: billed per token (input + output). A personal assistant handling dozens of messages per day costs a few dollars per month at current rates for most mid-tier models.
- Hosting: a small VPS costs a few dollars per month for low-traffic personal bots. Managed hosting via Clawbase starts with a monthly fee including server, TLS, updates, and persistent memory.
- Domain and SSL: domains cost several dollars per year; Let's Encrypt TLS is free.
- Developer time: the largest variable cost for custom builds. A production-grade bot with memory, error handling, and monitoring takes multiple hours to build properly.
Set up cost alerts on your AI provider account from day one. Streaming responses and high-frequency group chats can spike token usage faster than expected. The always-on assistant use cases guide covers practical patterns for keeping usage predictable.
***
Common errors and how to fix them fast
- HTTP 401 Unauthorized on any API call: Your token is invalid, malformed, or has extra whitespace. Re-copy it from @BotFather and verify with
getMe:curl https://api.telegram.org/bot./getMe - 404 on
setWebhook: The URL is wrong. Double-check the domain, path, and that the token appears in the URL exactly as issued. - 409 Conflict: A polling loop is running while you try to set a webhook. Stop the polling process first, then register the webhook.
- 429 Too Many Requests: You are hitting Telegram's rate limits. Back off for the duration specified in the
retry_afterfield of the error response. Add per-chat rate limiting in your handler. - Bot not responding in a group: The bot needs to be added as a member and may need admin privileges depending on group privacy settings. Also check that group privacy mode is disabled in @BotFather if you want the bot to read all messages, not just commands.
- Unsupported message types (photos, voice, stickers): Telegram delivers these as
Messageobjects with notextfield. Detect them by checkingupdate.message.photo,update.message.voice, etc. For photos, you can forward thefile_idto a vision-capable model. For voice, use a speech-to-text step first. For stickers and other media with no AI-processable content, reply with a fallback:"Please send a text message."This prevents silent failures that confuse users.
***
Skip the infrastructure: run your Telegram AI assistant on Clawbase
Building the bot yourself is satisfying, but the operational overhead adds up fast: SSL renewals, process crashes at 2 AM, token rotation, memory persistence across restarts, and model updates. Most of that time is not spent on the AI logic; it is spent keeping the server alive.
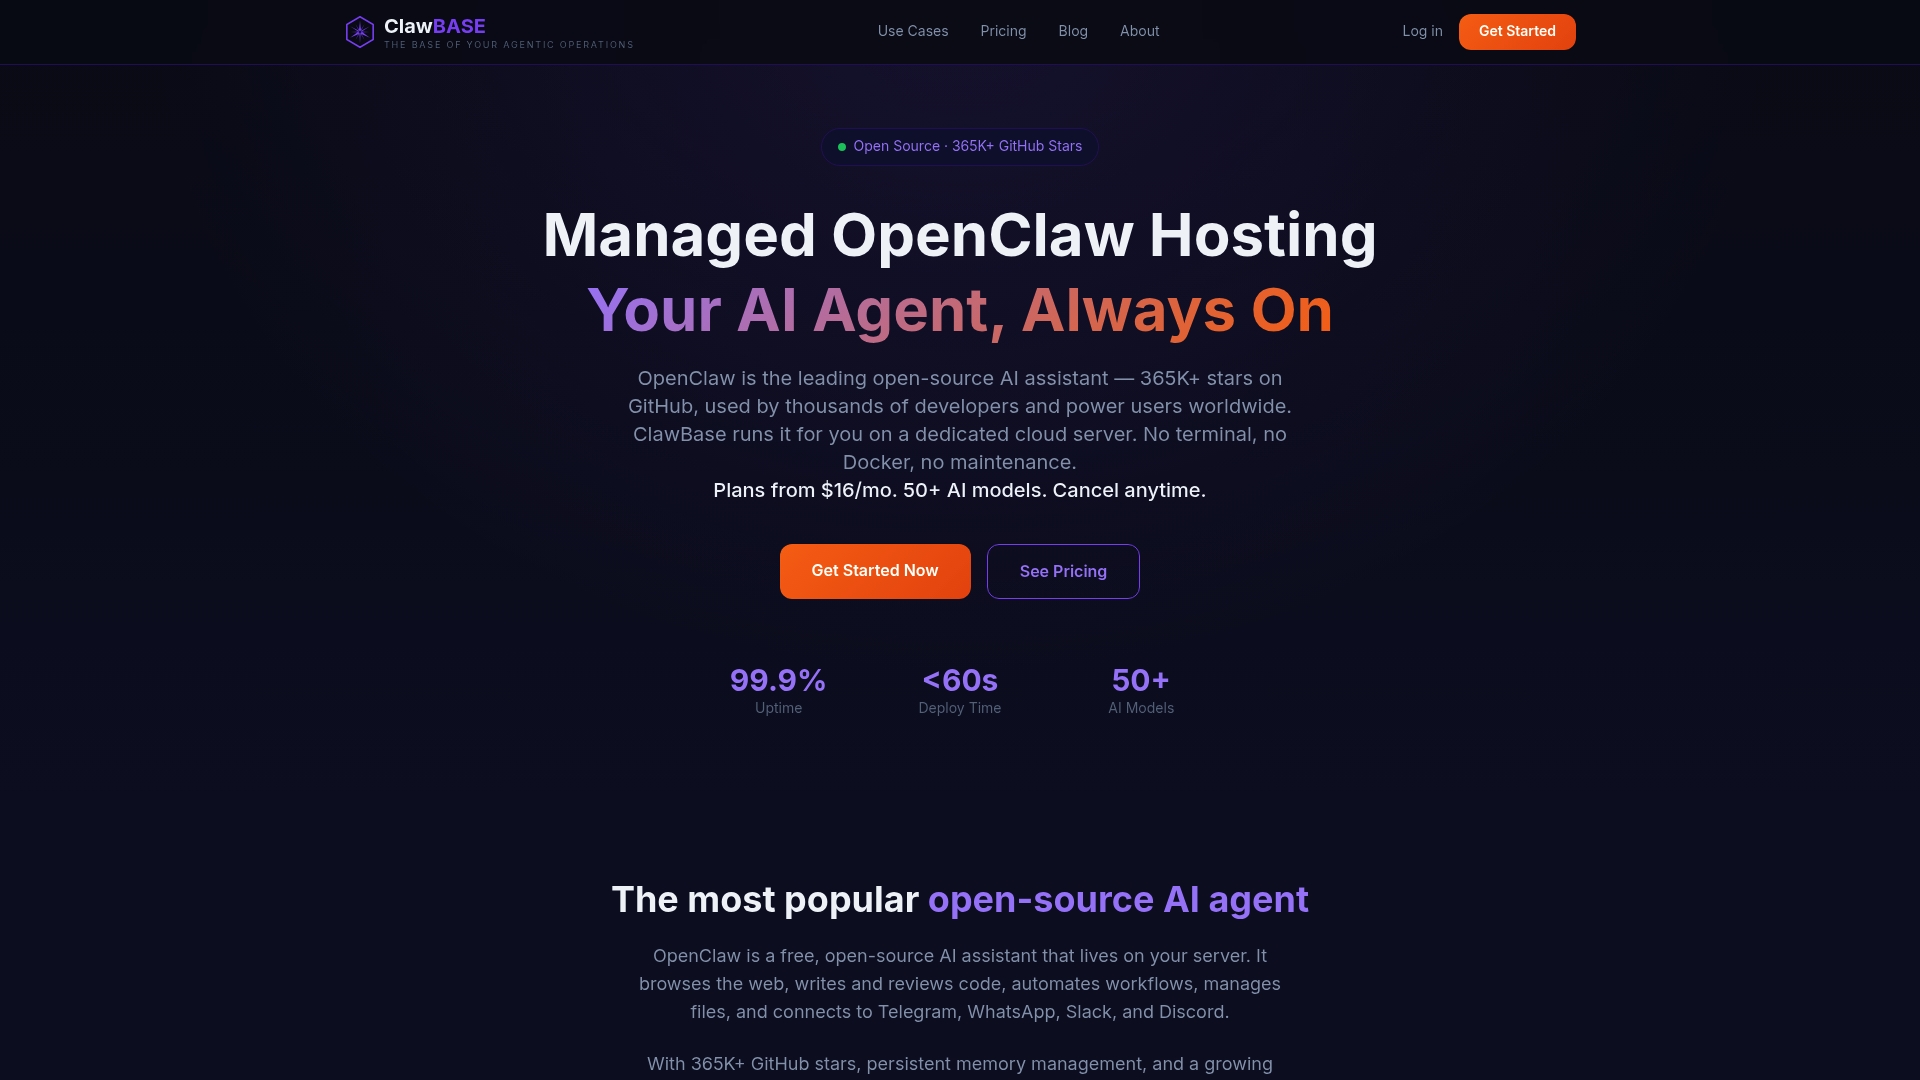
Clawbase removes that overhead entirely. It provides one-click deployment of OpenClaw, a powerful open-source AI assistant, on a dedicated encrypted cloud server with 99.9% uptime and daily encrypted backups. Telegram integration is built in, so there is no webhook configuration, no TLS setup, and no process manager to configure. Persistent memory management means your assistant remembers context across sessions without you building a SQLite schema. With access to over 50 AI models and multi-model routing, you can switch or combine models without touching infrastructure. The OpenClaw use cases page shows practical deployment patterns for teams and individual users. Plans start at $16/month with a 7-day free trial on the entry plan, and you can pay by credit card or cryptocurrency. For anyone who wants a production-grade, Telegram-connected AI assistant without the sysadmin work, that is the direct path.
***
Key Takeaways
Connecting an AI assistant to Telegram requires a @BotFather token, a choice between webhook and long-polling, an explicit memory layer keyed by chat ID, and secure token storage before going live.
| Point | Details |
|---|---|
| @BotFather token is mandatory | Use `/newbot` in @BotFather to get your API token; store it in an environment variable immediately. |
| Webhook vs. polling | Use long-polling for development and personal bots; switch to webhook for production scale and lower latency. |
| Memory layer is required | Telegram bots are stateless by default; key conversation history to `chat_id` using SQLite or a buffer. |
| Secure before going live | Validate webhook secret tokens, rate-limit requests, and rotate your bot token periodically. |
| Clawbase for managed hosting | Clawbase deploys a Telegram-connected OpenClaw assistant with persistent memory and 99.9% uptime from $16/month. |
***
What I actually learned building Telegram AI bots
The tutorials make it look linear. In practice, the first thing that breaks is memory, not the API connection. You get the bot responding, feel good about it, then realize it has no idea what you said two messages ago. That is not a bug in Telegram or the model. It is a design gap you have to fill deliberately, and the right design is to key everything to chat_id from the start, not retrofit it later.
The second thing people underestimate is message types. A real assistant in a real chat receives photos, voice notes, stickers, forwarded messages, and edited messages. If your handler only checks for message.text, it will silently ignore half of what users send. That silence reads as broken, even if the text path works perfectly. Build the fallback responses early.
On the webhook vs. polling debate: the long-polling approach is genuinely underrated for personal assistants. The latency difference is imperceptible for a single user, and you skip an entire category of infrastructure problems. Reserve webhooks for when you actually need the scale or are deploying for multiple users. The distinction between a simple chatbot and a true AI agent matters here too: an agent with tool calls and memory needs a more robust loop than a stateless Q&A bot, and that complexity is where managed hosting starts to pay for itself.
One more thing: model costs are easy to underestimate in group chats. A single active group can generate hundreds of messages per day, and if your bot responds to every one, token costs compound quickly. Implement a mention-only mode or a command prefix for group deployments. Monitor your API spend weekly until you have a stable baseline.
***
Useful sources and documentation
- Telegram Bot API reference: The authoritative source for all methods (
sendMessage,setWebhook,getUpdates), Update object shapes, and error codes. Bookmark this before writing any handler code. - @BotFather tutorial: Telegram's official walkthrough for creating a bot, setting commands, and managing tokens. Start here if you have never used @BotFather.
- python-telegram-bot examples: The library's official example directory covers polling, webhooks, inline keyboards, and conversation handlers.
- n8n Telegram integration docs: Step-by-step guide for wiring Telegram to an AI agent node in n8n, including memory configuration. Best starting point for non-developers.
- Clawbase managed hosting: Landing page for one-click OpenClaw deployment with built-in Telegram integration, persistent memory, and 50+ model support.
- Clawbase use cases: Practical deployment patterns and outcomes for teams and individual users evaluating managed hosting.
- Conversational AI concepts: High-level framing of how conversational AI systems are structured, useful if you are designing the agent architecture before writing code.