OpenClaw Setup: 5-Minute Quickstart for Beginners
2026-08-10

The fastest path to a working OpenClaw assistant is a single installer command, one onboarding run, and a Gateway status check. Here is what success looks like before you type anything:
- Gateway listening on port
18789 - Model provider API key configured and inference verified
- Dashboard reachable at
http://localhost:18789 - First chat reply received
macOS / Linux / WSL2:
curl -fsSL https://openclaw.ai/install.sh | bashWindows PowerShell:
iwr -useb https://openclaw.ai/install.ps1 | iexBoth commands provision Node if needed, install the CLI, and drop you straight into the onboarding wizard.
***
Key Takeaways
A working OpenClaw assistant requires one installer command, one onboarding run, and a Gateway status check — the whole process takes under five minutes on a supported system.
| Point | Details |
|---|---|
| One-liner install | Run the platform installer, then `openclaw onboard --install-daemon` to get a persistent Gateway. |
| Verify before moving on | Use `openclaw gateway status` and `openclaw doctor` to confirm the assistant is live and config is clean. |
| Secure your Gateway | Never expose port `18789` to the internet without TLS; store API keys as env-backed refs, not plaintext. |
| Preserve your config | Keep personal settings in `~/.openclaw/openclaw.json` so repo updates never overwrite your workspace. |
| Clawbase managed option | Clawbase offers one-click deployment with high uptime and numerous models for users who prefer no manual setup. |
***
Table of Contents
- What do you need before starting the openclaw setup?
- How do the installer scripts work for each platform?
- How do you run onboarding and install the Gateway daemon?
- How do you verify the Gateway and send your first message?
- What are the alternative ways to install OpenClaw?
- Troubleshooting common OpenClaw installation errors
- How do you secure your OpenClaw configuration and Gateway?
- Self-host or managed hosting: which fits your situation?
- What should you do next after the setup is complete?
- The part most guides skip
- Skip the manual setup with Clawbase managed hosting
- Sources
What do you need before starting the openclaw setup?
Node version is the most common trip wire. The installer supports Node 22.22.3+, 24.15+, and 25.9+, with Node 26 as the recommended runtime. The installer provisions Node automatically if your system lacks a supported version, but confirming with node --version first saves time.
- OS support: macOS, Linux (native and WSL2), and Windows (native PowerShell path)
- API key: Have an OpenAI, Anthropic, or compatible model provider key ready. Onboarding asks for it interactively.
- Alpine/musl caution: Alpine Linux can expose a vulnerable system SQLite version. Use an official
node:26-alpinecontainer or a glibc-based host instead.
Pro Tip: *If you already have a workspace, re-running onboarding is safe. The wizard preserves your existing config and workspace unless you explicitly pass --reset.*
***
How do the installer scripts work for each platform?
The three installer scripts cover every major platform. Each detects your OS, provisions Node when absent, and installs OpenClaw. The default flow ends with onboarding unless you pass a skip flag.
| Script | Platform | What it does |
|---|---|---|
| `install.sh` | macOS, Linux, WSL2 | Full install: Node provisioning, npm or git install, starts onboarding |
| `install-cli.sh` | Linux, containers, Nix | Local prefix install to `~/.openclaw`; no system-wide changes |
| `install.ps1` | Windows PowerShell | Windows-native install with Scheduled Task fallback and PowerShell flags |
Key flags worth knowing:
--no-onboardskips the wizard after install--no-prompt/-NoOnboardruns non-interactively for CI pipelinesOPENCLAW_INSTALL_METHOD=npmor=gitforces the install method--jsonoutputs machine-readable status for automationDryRun(PowerShell) previews actions without writing anything
For a headless CI run on Linux, the pattern looks like:
OPENCLAW_INSTALL_METHOD=npm curl -fsSL https://openclaw.ai/install.sh | bash -s -- --no-onboard --no-prompt***
How do you run onboarding and install the Gateway daemon?
Once the CLI is installed, the Getting Started quickstart directs you to a single command:
openclaw onboard --install-daemonThis runs the full onboarding sequence and registers the Gateway as a persistent background service. Onboarding covers model and auth configuration, workspace initialization, Gateway port and bind settings, channel connections, health checks, and skill installation.
The daemon behavior differs by OS:
- macOS: Registered as a LaunchAgent under your user account
- Linux / WSL2: Installed as a systemd user unit (
systemctl --user) - Windows: Registered as a Scheduled Task; falls back to the Startup folder if Task Scheduler is unavailable
For automation, two flags matter most. --non-interactive skips all prompts and uses defaults or environment variables. --gateway-token-ref-env lets you pass a secret reference instead of a plaintext token, which is the right call for any shared or server environment. The --accept-risk flag acknowledges known configuration risks without halting the wizard.
You can also use openclaw setup --baseline to create config and workspace locations without running the full wizard. This is useful for container bootstrapping where you want a known directory structure before injecting secrets.
***
How do you verify the Gateway and send your first message?
Run these four commands in order after onboarding completes:
openclaw --version        # confirm CLI is installed correctly
openclaw gateway status   # check Gateway is listening
openclaw doctor           # surface any broken config keys
openclaw dashboard        # open the web UI
A healthy Gateway reports listening on 0.0.0.0:18789 (or your configured bind address). The dashboard loads at http://localhost:18789 by default. Send a short message in the chat interface. If the assistant replies, your openclaw installation is fully working.
If the dashboard does not load:
- Confirm the daemon is running (
systemctl --user status openclawon Linux, or check LaunchAgent on macOS) - Check for port conflicts on
18789 - Verify firewall rules are not blocking localhost traffic
- If you use Tailscale, note that it is off by default in QuickStart mode
***
What are the alternative ways to install OpenClaw?
Not every environment suits the one-liner installer. Here are the supported paths and when each makes sense.
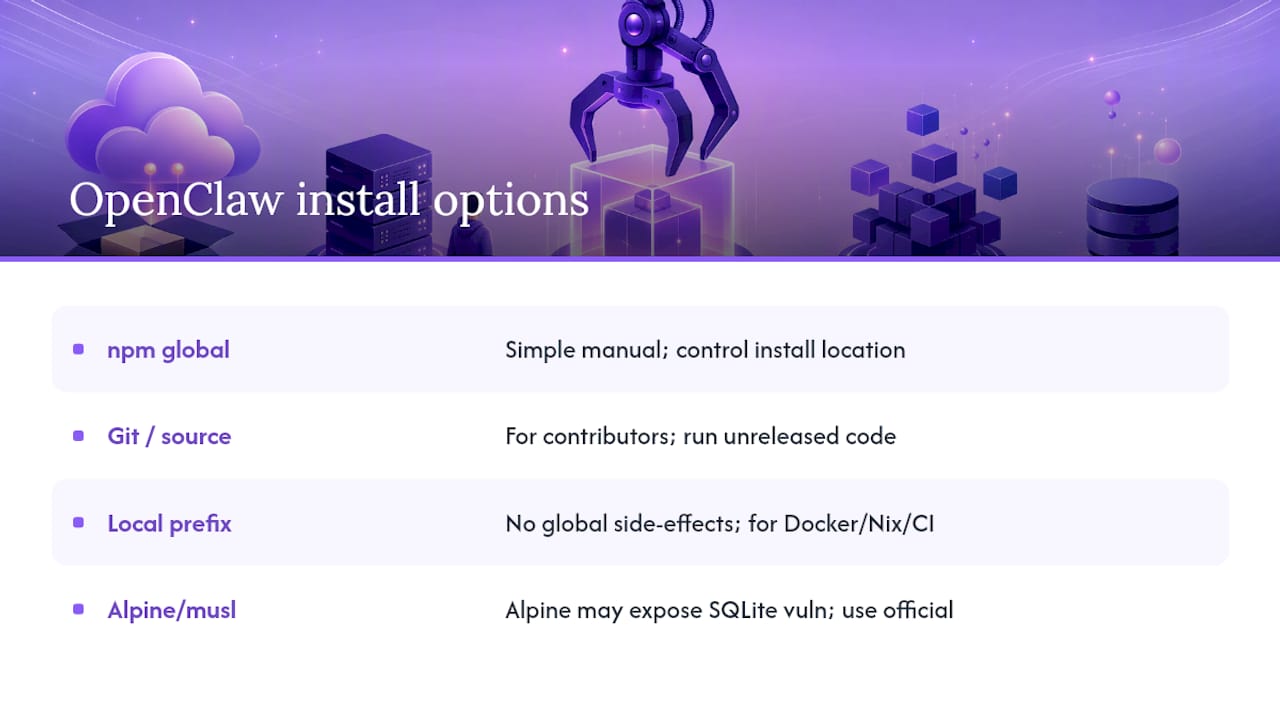
npm global install is the simplest manual method:
npm install -g openclaw@latestpnpm and bun work as drop-in replacements. This approach suits developers who already manage their own Node environment and want explicit control over the install location.
Git / source checkout is appropriate for contributors or anyone who wants to run unreleased code:
git clone https://github.com/openclaw/openclaw.git
cd openclaw
pnpm install && pnpm build && pnpm link
For live development, the advanced setup docs describe pnpm gateway:watch, which runs the Gateway in a hot-reload loop. Attach a local OpenClaw app in Local mode to test changes without daemonizing.
install-cli.sh installs to a local prefix at ~/.openclaw without touching system paths. This is the right choice for Docker containers, Nix environments, and cloud CI runners where you want no global side effects.
Alpine/musl warning: The installer docs flag that Alpine Linux can expose a vulnerable system SQLite version. Use the official node:26-alpine container image or switch to a glibc-based host to avoid this.
***
Troubleshooting common OpenClaw installation errors
Most failures fall into three categories. Here is how to resolve each quickly. For a broader list of open-source AI setup errors, the Clawbase fix guide covers additional edge cases.
openclaw not found after install:
- Run
npm prefix -gto find your global bin directory - Add
$(npm prefix -g)/binto yourPATHin~/.bashrcor~/.zshrc - Reopen your terminal and retry
Node version mismatch:
- Run
node --versionand confirm it is 22.22.3+, 24.15+, 25.9+, or 26+ - The installer provisions Node automatically, but a conflicting system Node can shadow it
- Use a version manager like
nvmorfnmto switch cleanly
Git missing for source installs:
- On Windows, the installer includes a MinGit bootstrap; if it fails, install Git for Windows manually and retry
- On Linux,
apt install gitor the equivalent resolves this immediately
Pro Tip: *Run openclaw doctor before re-running onboarding. It surfaces legacy or corrupted config keys that would cause the wizard to fail silently. On PowerShell, add -Verbose or enable tracing to see exactly where a script stalls.*
***
How do you secure your OpenClaw configuration and Gateway?
Security defaults in OpenClaw are reasonable, but a few deliberate choices make a production deployment meaningfully safer.
- Never expose the Gateway to the open internet without TLS and auth. The QuickStart binds to localhost by default. If you need remote access, put a reverse proxy (nginx, Caddy) with HTTPS in front.
- Store secrets as environment-backed refs. Onboarding supports
SecretRefand--gateway-token-ref-envso plaintext API keys never land in your config file. - Keep personal config in
~/.openclaw/openclaw.jsonand workspace files in~/.openclaw/workspace. The setup docs explicitly recommend this to prevent repo updates from overwriting your customizations. - Run the daemon under your user account, not root. The LaunchAgent and systemd user unit defaults do this correctly. Avoid running with elevated privileges.
- Set firewall rules to restrict Gateway port access to localhost or a known VPN range.
- Monitor with
openclaw doctorand Gateway logs regularly. Automated updates and daily encrypted backups (available on managed plans) remove most of this burden for non-self-hosters.
***
Self-host or managed hosting: which fits your situation?
Self-hosting gives you full control over configuration, model routing, and data residency. That control comes with real operational overhead: you manage Node upgrades, daemon restarts, API key rotation, and backup schedules yourself.
Managed hosting is worth considering when:
- You have limited sysadmin time or no dedicated server
- You need 99.9% uptime without writing your own monitoring
- Automated encrypted backups and updates matter for your workflow
- You want multi-model routing across 50+ models without manual configuration
- Channel integrations (Telegram, Discord, Slack, WhatsApp) need to stay connected without babysitting
Clawbase offers one-click OpenClaw deployment on dedicated encrypted servers. You get persistent memory management, daily encrypted backups, automated updates, and browser relay integration out of the box. For teams and busy professionals who want the assistant's capabilities without the infrastructure work, that tradeoff is clear. For developers who want to modify the source or run bleeding-edge builds, self-hosting remains the right call.
***
What should you do next after the setup is complete?
A working Gateway is the starting line, not the finish. Here is where to go next:
- Connect a channel. Telegram is the fastest integration to configure. Run
openclaw dashboard, navigate to Channels, and follow the bot token flow. - Confirm your model provider. Verify your API key is active and the model you selected during onboarding is responding correctly.
- Install recommended skills. The Skills marketplace adds capabilities like web search, file management, and calendar access. Browse from the dashboard.
- Set up monitoring. Schedule a weekly
openclaw doctorcheck and review Gateway logs monthly. If you self-host, configure log rotation. - Read the docs. The most useful next reads are the Channels reference, the Models configuration page, the Gateway options doc, and the Plugins/Skills guide.
For a deeper look at what the assistant can actually do in daily workflows, the OpenClaw use cases page is a practical starting point.
***
The part most guides skip
The openclaw setup itself takes five minutes. What takes longer is deciding how much of the operational layer you actually want to own.
Most beginners underestimate the ongoing work: keeping the daemon alive after OS updates, rotating API keys before they expire, and debugging Gateway connectivity when a firewall rule changes. None of it is hard, but all of it is time. The openclaw doctor command catches most issues early, and keeping your config in ~/.openclaw/openclaw.json prevents the most common data-loss scenario (a repo pull that overwrites your workspace). Those two habits alone prevent the majority of support questions.
The honest advice: self-host if you want to learn the internals or need custom model routing. Choose managed hosting if the assistant's output is the point, not the infrastructure.
***
Skip the manual setup with Clawbase managed hosting
If the steps above look like more infrastructure than you signed up for, Clawbase is the direct alternative. You get a fully configured OpenClaw assistant on a dedicated encrypted server, deployed in one click, with no terminal required.
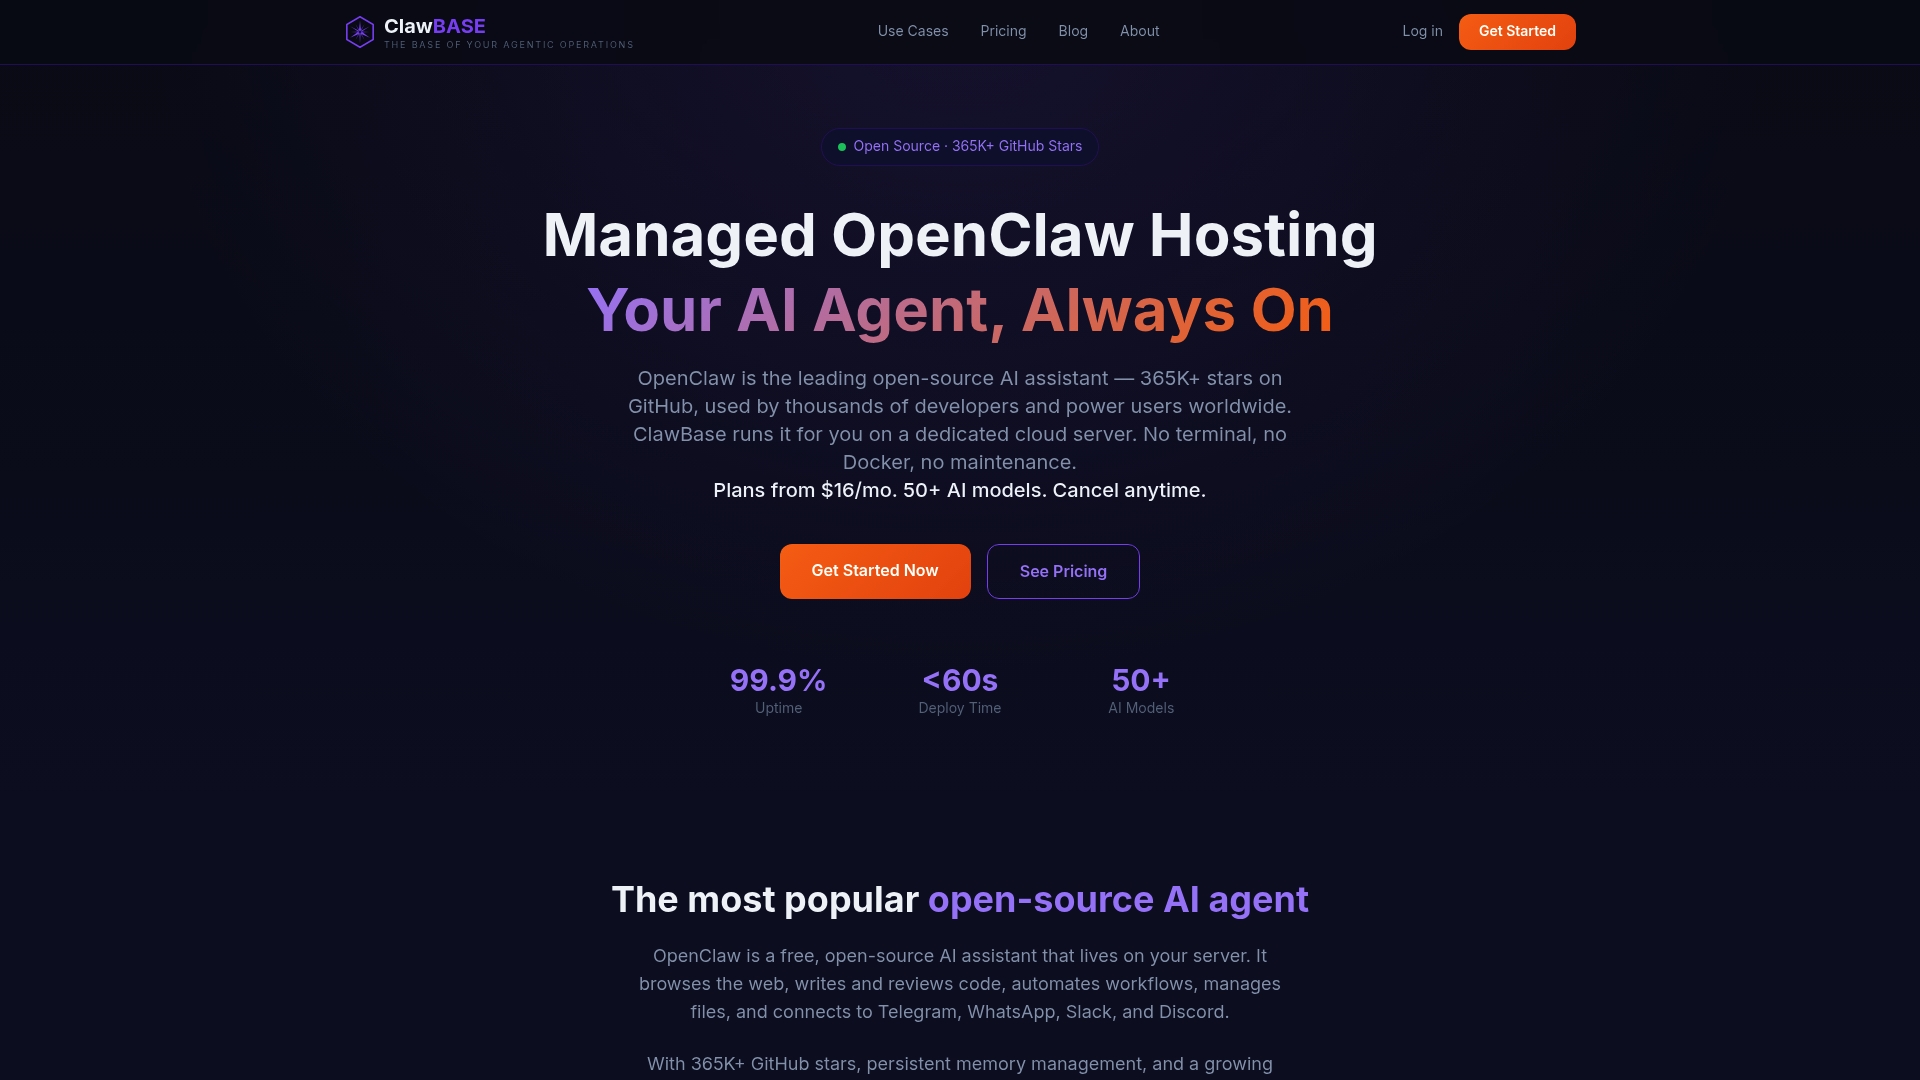
- 99.9% uptime with daily encrypted backups and automated updates
- 50+ AI models with multi-model routing, plus Telegram, Discord, Slack, and WhatsApp integrations pre-connected
Plans start with affordable monthly rates and include a free trial period. See what the assistant can do for your workflow on the Clawbase use cases page, or go straight to Clawbase to start your trial.
***